Difference between revisions of "IPitomy Cloud Connect"
Jump to navigation
Jump to search
1. Download Application
| Line 10: | Line 10: | ||
[[File:AppStore Screen270x480R.png]] [[File:App Screen270x480R.png]] | [[File:AppStore Screen270x480R.png]] [[File:App Screen270x480R.png]] | ||
| + | |||
| + | |||
==== <br/>2. Open Application ==== | ==== <br/>2. Open Application ==== | ||
| Line 16: | Line 18: | ||
[[File:OpenApp270x480.png]] [[File:OpenAppHS270x480.png]] | [[File:OpenApp270x480.png]] [[File:OpenAppHS270x480.png]] | ||
| + | |||
| + | |||
| + | |||
| + | |||
| + | |||
| + | |||
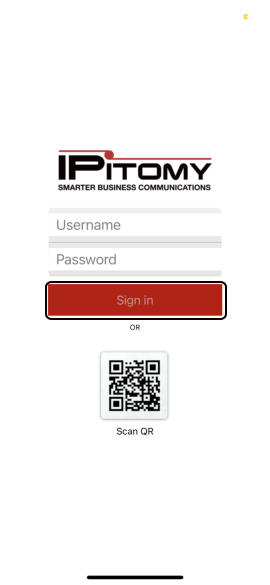
==== 3. Sign In ==== | ==== 3. Sign In ==== | ||
==== Sign in by entering your username and password or scanning your QR Code (automatically logs into your account) ==== | ==== Sign in by entering your username and password or scanning your QR Code (automatically logs into your account) ==== | ||
| − | |||
| − | |||
[[File:SignIn.png]] [[File:OpenAppQR.png]] | [[File:SignIn.png]] [[File:OpenAppQR.png]] | ||
Revision as of 21:54, 19 October 2020
Note: This Guide will assist the user in Installing the IPitomy Cloud Connect Softphone application on an iPhone and Android smartphone.
iPhone:
Visit Apple AppStore and search "IPitomy"
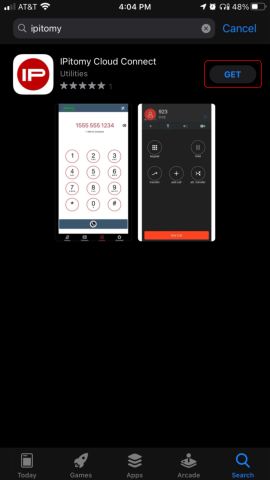
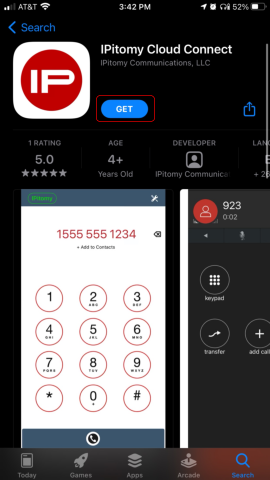
1. Download Application
Press Get button to download application
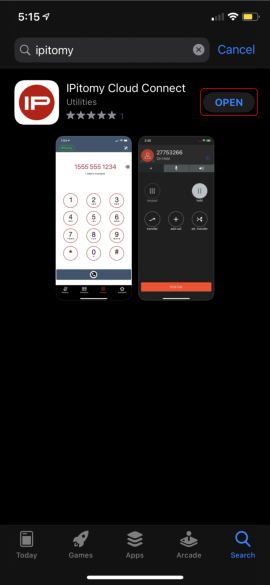
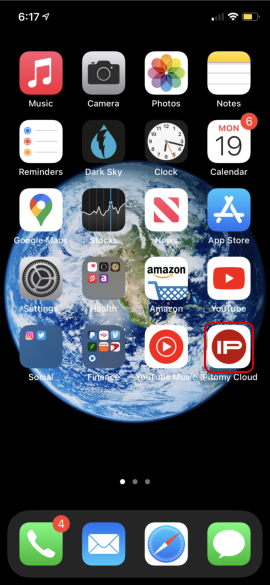
2. Open Application
Once application has finished installing press open button or tap on App icon to open
3. Sign In
Sign in by entering your username and password or scanning your QR Code (automatically logs into your account)
