Difference between revisions of "SMS"
(Created page with "IPitomy SMS Chat Client is a windows application that allows you to send and receive SMS messages over your existing IPitomy SIP trunk phone numbers. The client can be downloa...") |
|||
| Line 34: | Line 34: | ||
[[File:Smsautorespondedit.JPG|File:Smsautorespondedit.JPG]] | [[File:Smsautorespondedit.JPG|File:Smsautorespondedit.JPG]] | ||
| + | |||
| + | === Responder Contacts === | ||
| + | |||
| + | Under the Auto Responder -> Responder Contacts window, you can see all numbers that have subscribed to one of your autoresponder keywords, and which keyword or keywords they have currently subscribed to, including their current opt-in status: | ||
| + | |||
| + | [[File:Smscapturedresponses.JPG|File:Smscapturedresponses.JPG]] | ||
| + | |||
| + | |||
| + | |||
| + | === Campaign Distribution Lists === | ||
| + | |||
| + | Campaign distribution lists can be managed under Auto Responder -> Campaign Groups | ||
| + | |||
| + | [[File:Campaigndistlists.JPG|File:Campaigndistlists.JPG]] | ||
| + | |||
| + | These lists are useable on the new chat message window so you can send a single message to an entire group instead of selecting individual recipients one at a time. | ||
| + | |||
| + | |||
| + | |||
| + | ===Manage Campaigns=== | ||
| + | |||
| + | Under Auto Responder->Manage Campaigns you can manage your SMS marketing campaigns. | ||
| + | |||
| + | [[File:Managecampaigns.JPG|File:Managecampaigns.JPG]] | ||
| + | |||
| + | From here you can create new campaigns, modify existing ones, or delete old ones. | ||
Revision as of 19:18, 24 September 2018
IPitomy SMS Chat Client is a windows application that allows you to send and receive SMS messages over your existing IPitomy SIP trunk phone numbers. The client can be downloaded at SMS Chat Client
Account Setup
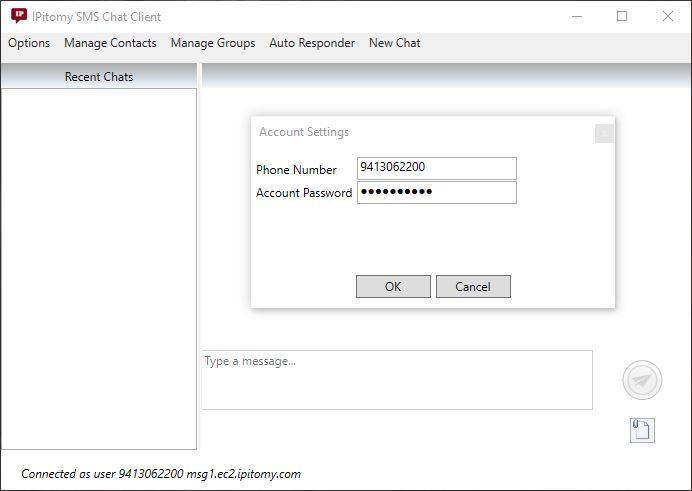
After installing and running the program, you will first be presented with this screen:
The phone number will be the number you activated this service on, and the account password will be provided to you by us on account activation.
New Chat
To start a new chat, click the New Chat option in the top menu bar:
From here, just put in a phone number, or multiple (hit add for each one, one at a time), type your message, and attach small files if desired (MMS messages cost extra), and hit the send button at the bottom. MMS also requires permission to use.
Auto Responder
Auto Responder Setup
First, click Auto Responder -> Responder Setup and create your autorespond keywords and responses:
New Keywords can be created at the top. You can either edit or delete each individual keyword once created. A keyword to unsubscribe should be created as well. This is done by editing a keyword for this purpose and checking the box that says "A match to this keyword indicates the sender is opting out of future SMS campaigns". A way to opt out is required for all campaigns.
Responder Contacts
Under the Auto Responder -> Responder Contacts window, you can see all numbers that have subscribed to one of your autoresponder keywords, and which keyword or keywords they have currently subscribed to, including their current opt-in status:
Campaign Distribution Lists
Campaign distribution lists can be managed under Auto Responder -> Campaign Groups
These lists are useable on the new chat message window so you can send a single message to an entire group instead of selecting individual recipients one at a time.
Manage Campaigns
Under Auto Responder->Manage Campaigns you can manage your SMS marketing campaigns.
From here you can create new campaigns, modify existing ones, or delete old ones.


