Menu Management
Jump to navigation
Jump to search
Menu Management Console
Overview
The Menu Management feature allows the end user to control their menu destinations, configuration, and prompts. Prompts can be hanged and recorded from any phone that can call into the Menu, and destinations/configuration can be changed from any PC that can access the web interface of the PBX.
Active Menu Prompt
|
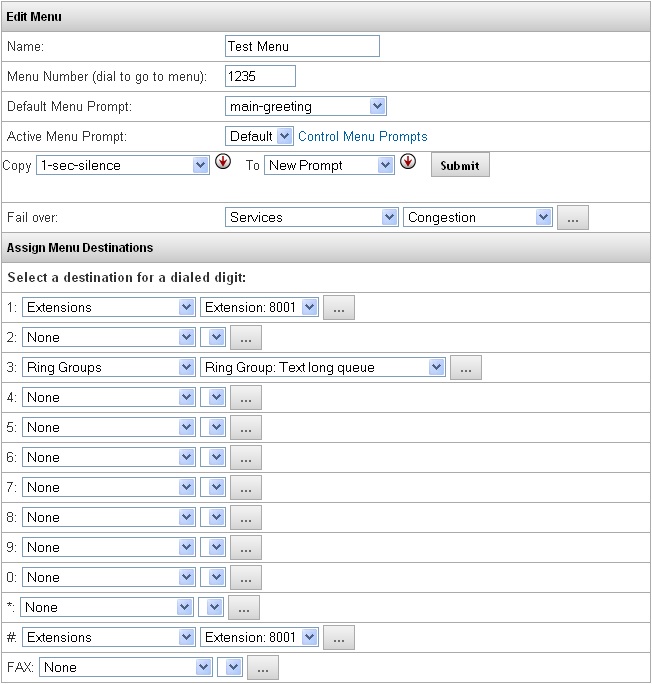
Defines which prompt is set to be used on this menu, taking into account individual prompts recorded using Menu Management and system prompts. Prompts recorded through Menu Management will only be available in this Menu, and are defined as 1-5. If set to default,the Menu will play the Default Menu Prompt which is selectedfrom the list of system prompts.
|
Control Menu Prompts
|
Clicking this blue link will expand the page, allowing the administrator to copy Menu Management prompts to the system prompts, or vice versa.
|
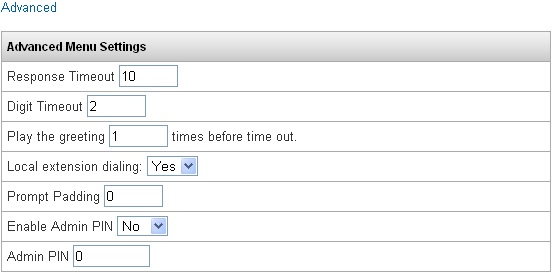
| Enable Admin PIN |
Defines whether Menu Management will be enabled when calling into the Menu.
|
| Admin PIN |
When Enable Admin PIN is set to YES, this is the code that must be entered when calling into the Menu to access the Menu Management feature in regards to recording and managing prompts, and the password for logging in to edit the Menu. This must be a 5-6 digit number.
|
Copying Menu Prompts to System Prompts
STEPS:
- When editing a menu, click the blue link Control Menu Prompts to reveal the option for copying prompts.
- Under the Copy dropdown, select the menu prompt (1-5) that you wish to copy to a system prompt.
- Under the To dropdown, select New Prompt.
- Click the Submit button.
- Enter a name for the new prompt to have when copied to system prompts under PBX Setup=>Prompts.
Copying System Prompts to Menu Prompts
STEPS:
- When editing a menu, click the blue link Control Menu Prompts to reveal the option for copying prompts.
- Under the Copy dropdown, select the System prompt that you wish to copy to a Menu prompt.
- Under the To dropdown, select which Menu prompt (1-5) you want to copy to.
- Click the Submit button.
Prompt Management
By calling into a Menu, you can enter the Admin PIN which allows the caller to control and record prompts for that menu. Once logged in, the system will audibly instruct the user how to listen to all prompts for the menu, record up to 5 new prompts, and how to change which of the prompts is set as active in the Menu.
STEPS:
- Call into the Menu, either locally by dialing the menu number, or from an outbound line that routes to the Menu.
- Once the prompt begins playing, enter the Admin PIN for the Menu.
- The system will announce “Your current menu prompt is set to announcement (X). To manage announcement, press the announcement number 0-5 or press * to hear the current announcement”
- Pressing 0 will access the System Prompt for the Menu. Pressing 1-5 will access one of the Menu specific prompts.
- While accessing a prompt, you can press 1 to listen to it, 2 to record, 3 to set as the active prompt, or * to return to the beginning of Menu Management. (You cannot record over slot 0, the System Prompt)
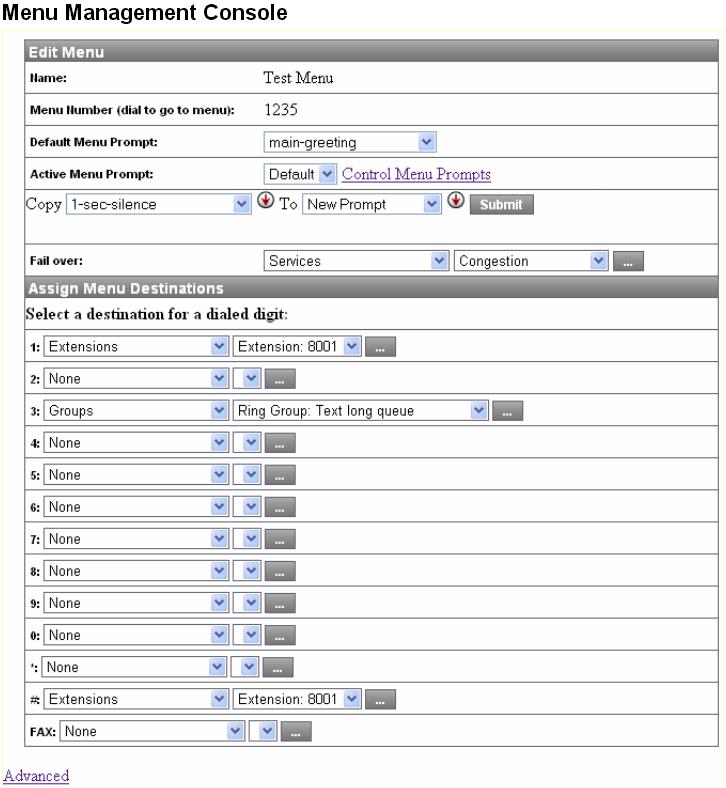
Menu Management Console
Accessing Menu Management Console
STEPS:
- Access the login screen for the PBX, either from a local or remote PC.
- On the right hand side (User Login) enter the Menu Number as the Username and the Menu Admin PIN as the Password.
- Click Login, which will take you to the Menu Management Console.
- Edit the Menu using the console the same as you would edit it when logged into the PBX as an administrator.
- Once changes are completed, click Save Changes, which will Save and Apply the settings in the PBX.


