Softphones
Native Android Soft Phone
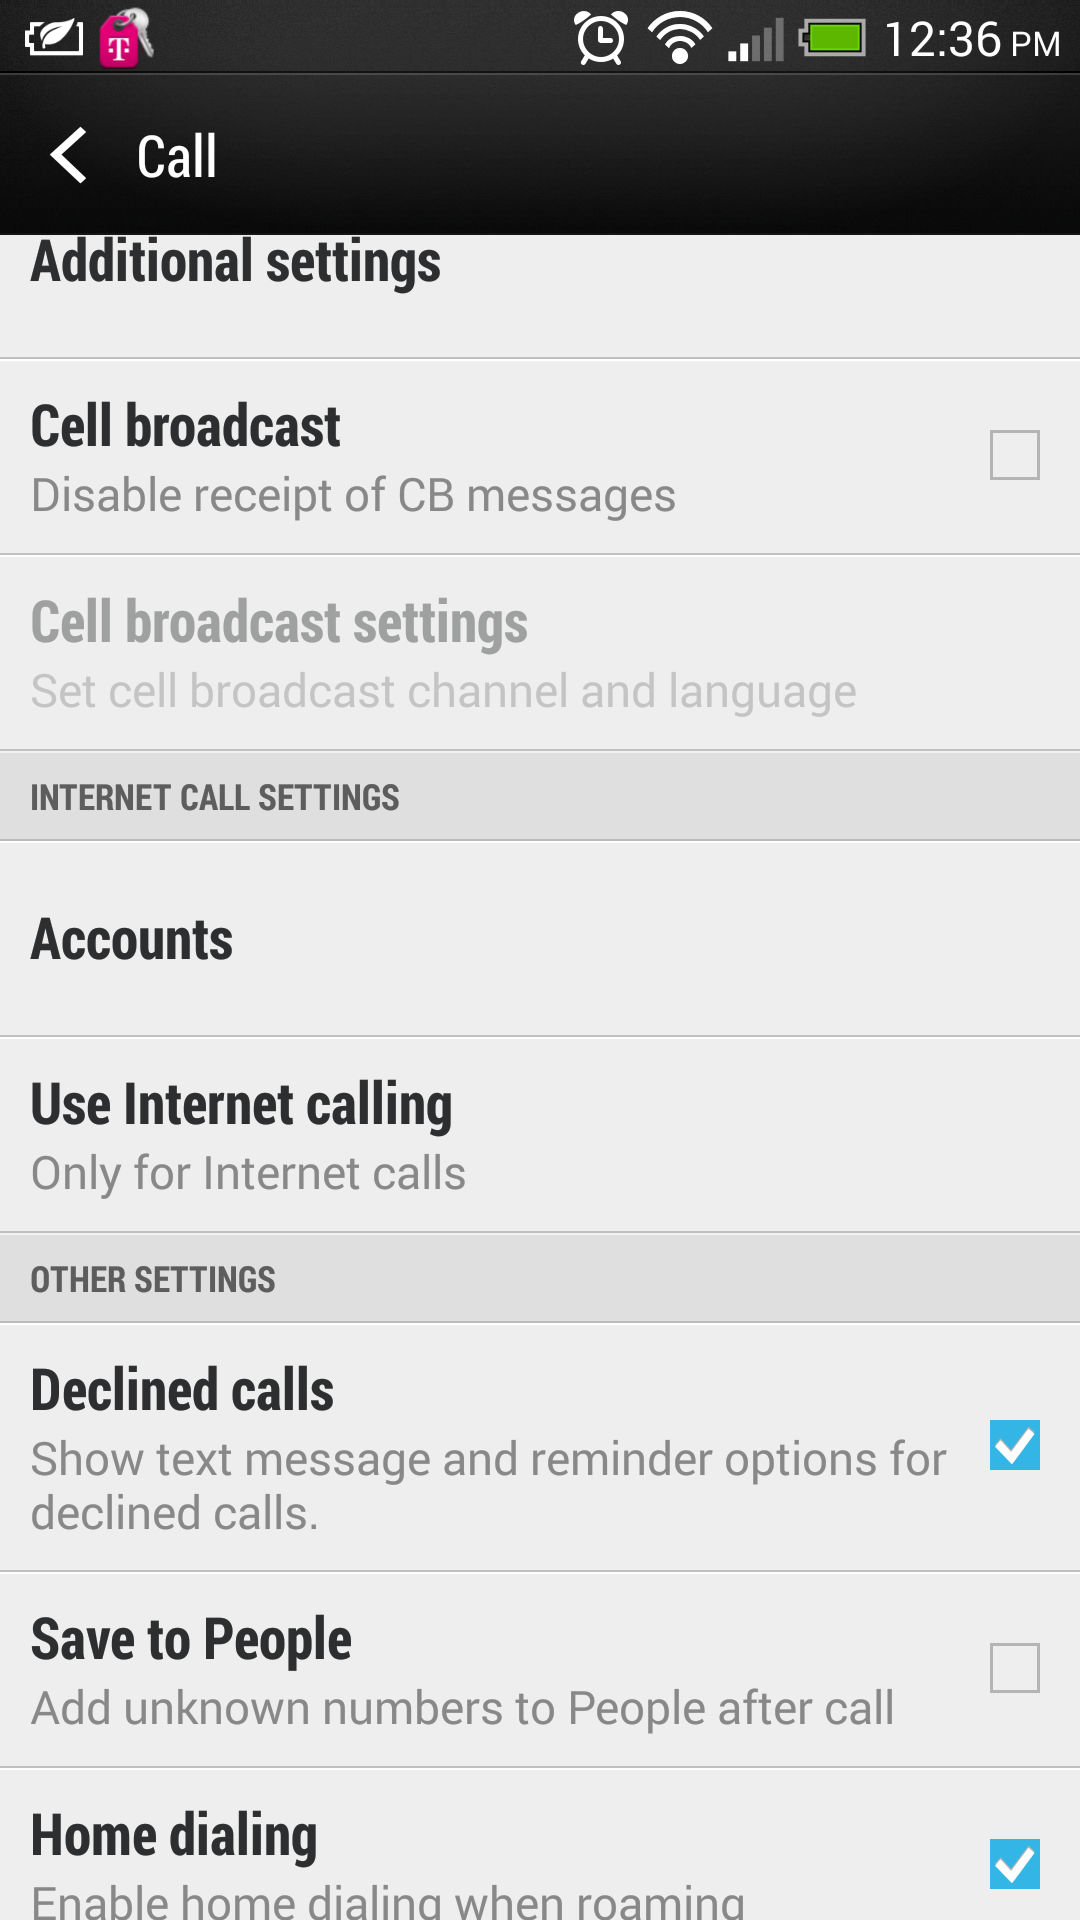
The more recent versions of Android software have a built in SIP client (referred to as Internet Call). Below are screenshots from an HTC One running Android 4.3 and how to configure it to work with IPitomy.
- Navigate to the Phone on your Android Cell
- Navigate to Settings
- Find the section for Internet Call Settings and select Accounts (Note: You may want to modify how Internet Calling functions at this point, found under Use Internet Calling)
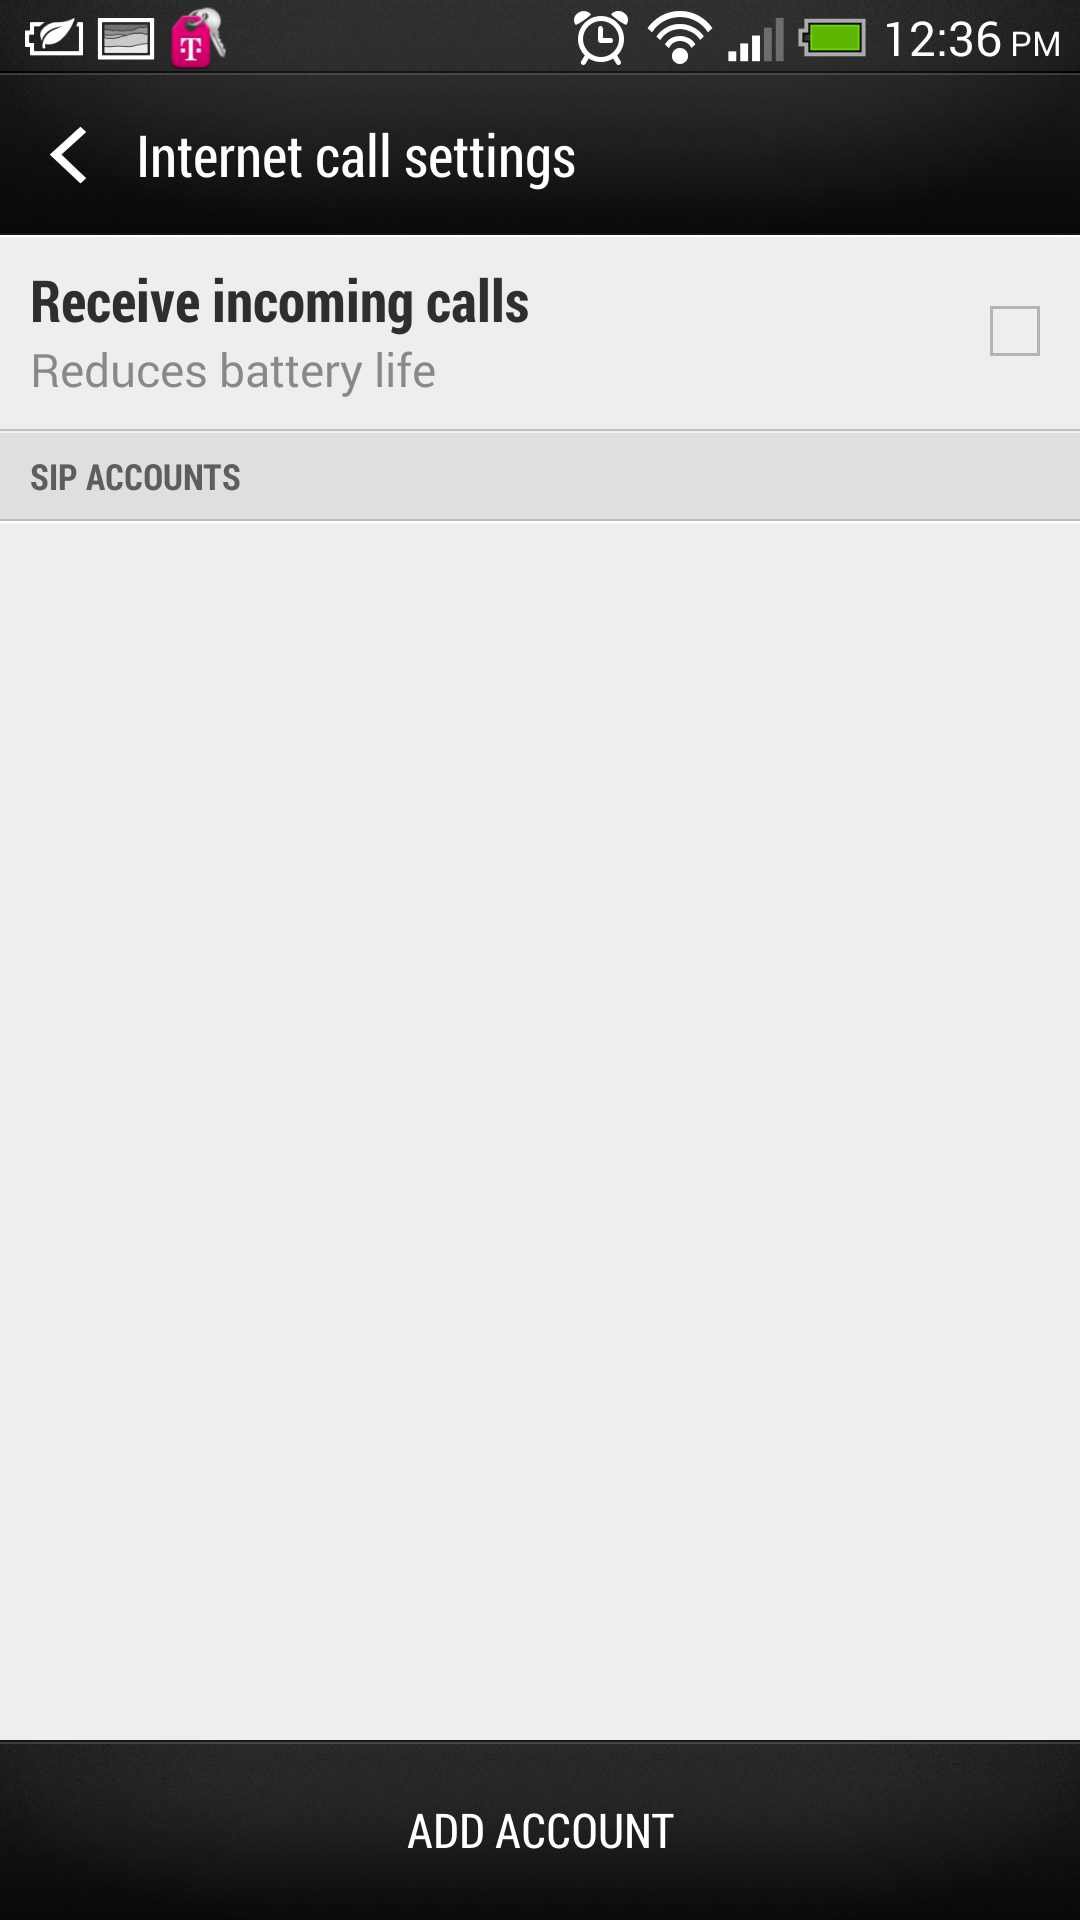
- Select Add Account. Also this is where you set if the phone is going to keep an active connection so it can receive inbound calls.
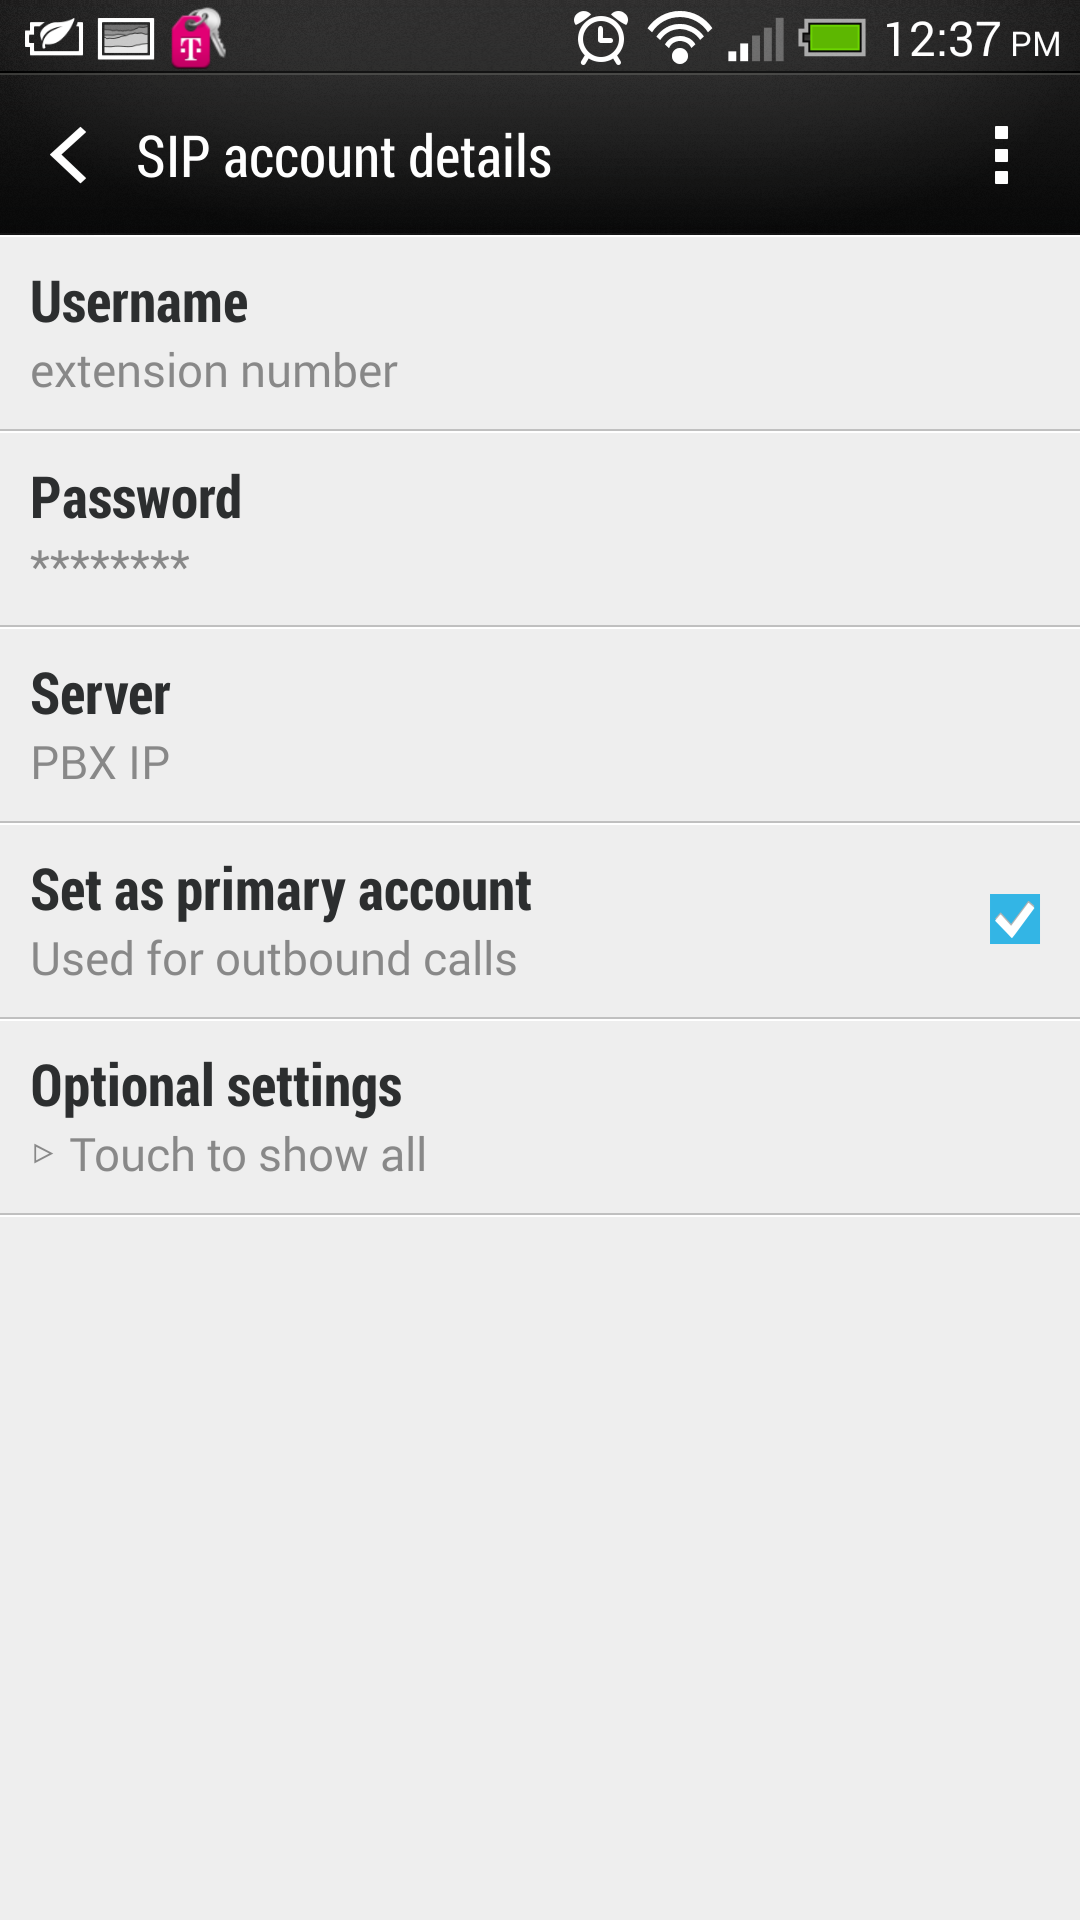
- Enter in the relavent information
- Username = Extension Number
- Password = SIP Password for the Extension
- Server = Public IP of the PBX
- After this its up to you to decide if you want this SIP account used for Outbound Calls
Counterpath Xlite Softphone and the IPitomy PBX
- Using your web browser, navigate to http://www.counterpath.com/x-lite.html and
- download the Xlite phone
- Install the Xlite Softphone on your PC
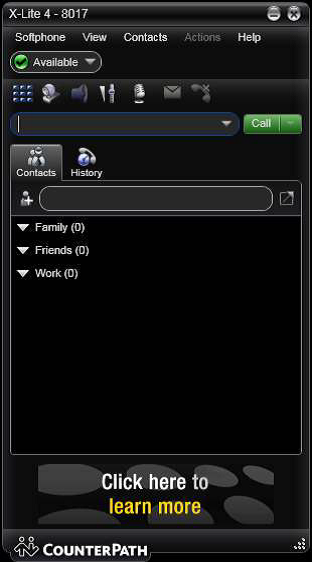
- Launch Xlite and you will see the following window
- Click Softphone at the top of the phone and select Account Settings
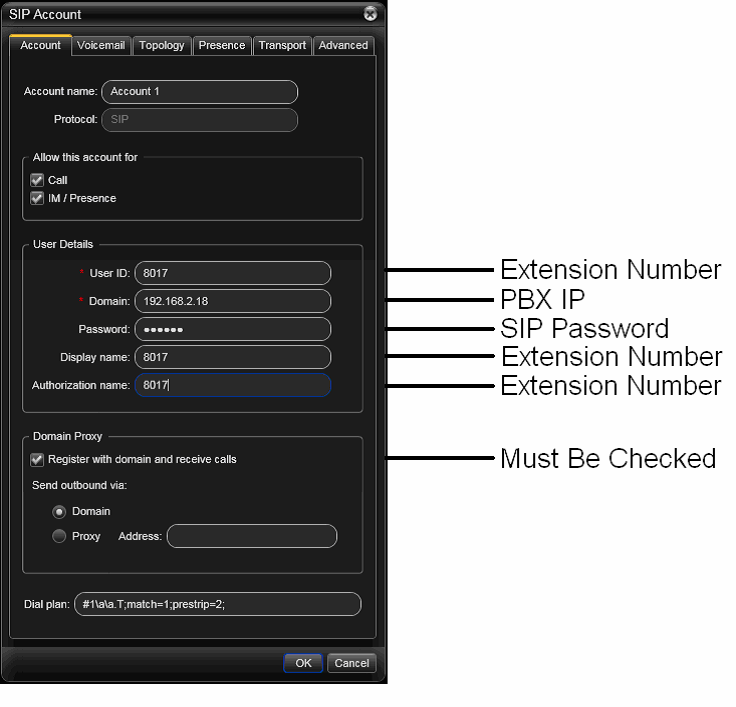
- Enter the Extension Number for: Display Name, User Name, and Authorization User Name
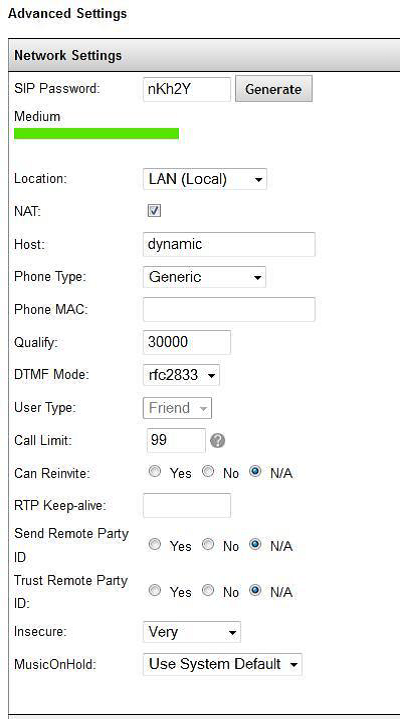
- Enter the SIP Password of the extension in the Password field
- Enter the appropriate IP address for the PBX under Domain
- Check the box for ‘Register with domain and receive incoming calls
- Click OK and the phone will register to the PBX
Bria Softphone Setup
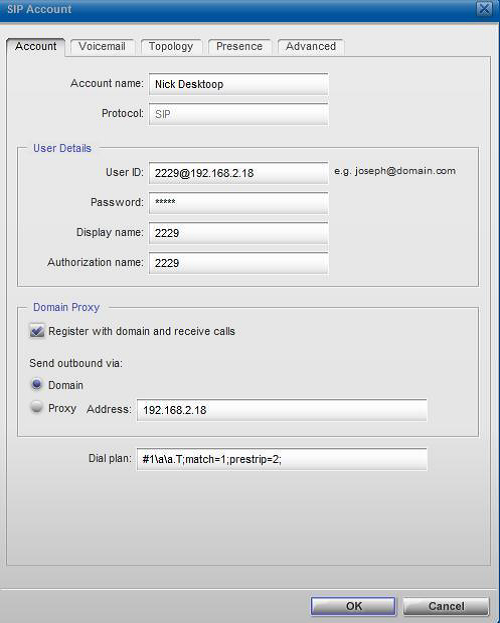
To Successfully set up your Bria Softphone with you IPitomy system, fill out the SIP Account window once you have downloaded the Bria Software.
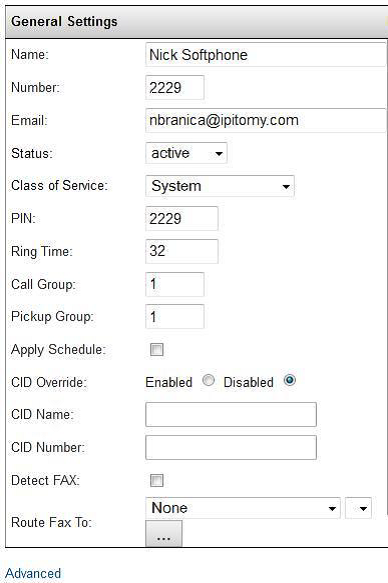
Your Extension Number which is found under General Settings is used as your User ID followed by the @ symbol and your outside IP address.
Chat/Presence with Bria
By configuring the XMPP client in your Bria soft phone on your cell phone, you can monitor chat and presence of extensions on your PBX.
- Step 1 - Create an extension on the system. If you have set up your Bria already, use that extension and create an XMPP Account on your Accounts tab.
- Step 2 - Enter you ext number as the username and PIN as the password.
- Step 3 - Enter the word localhost for domain
- Step 4 - Click the advanced tab
- Step 5 - Enter in the IP address of the IPitomy PBX System. If you are using 3/4g you will need to use the external static IP address or Domain name. If using local wifi, you can use the inter LAN address.
- Step 6 - It is best to set this up on the external address so it will work while outside of the building. To complete the connection, you will need to forward port 5222 to the internal IP address of the IPitomy PBX System in the Router/Firewall.
- Step 7 - Assign a Qmanager Account to this extension in PBX Setup - Services
- Step 8 - Log into Qmanager using the extension and pin for this extension and enable chat. After enabling the chat account you can log out of the Qmanager account for this extension.
You should now see this extension in Qmanager with the Blue text messaging icon. Your Bria should be ready to send/receive chat messages to your colleagues desktops from your mobile smart phone as well as receive presence status updates.
