RTX DECT Phone
Configuration of RTX SIP DECT base and Handsets And the Ipitomy PBX
NOTE: The base range of the typical DECT unit is 300ft, but does not take into account walls and other points of interference.
In order to get the RTX working you will need to follow all of the steps on this page, first doing Section 1 to add a server, then Section 2 to add extensions and pair the handsets.
While idle, the phone can ring 1 call. Once connected on a call, the phone can receive 1 other call, and you'll hear a call waiting tone, allowing you to answer or ignore the 2nd call. If you answer the 2nd call, the 1st will be put on hold.
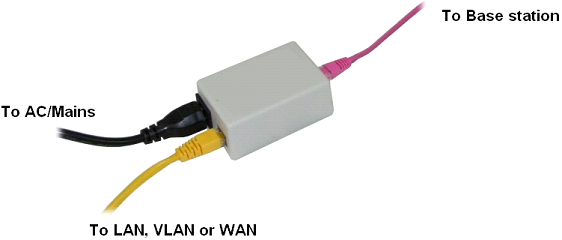
NOTE: The RTX Base Unit can only be powered by POE, so you'll either need a free port on a POE switch or a POE injector.
Hardware required equipment
This section describes what hardware is needed to execute the guideline. You need the following to perform a registration of a handset to a base station (gateway):
1 x base station
1 x handset
1 x Ethernet cable
1 x PC connected to the LAN, VLAN or WAN
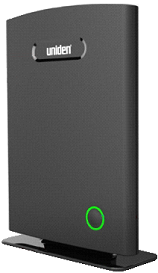


Plug the Ethernet cable into the base station and connect the other end of the cable to your network (LAN, VLAN or WAN ). The base station is supplied via the Ethernet cable (PoE). PC must be connected to the same network as the base station.
If your network doesn’t support PoE (Power over Ethernet), then a PoE adaptor must be used.
This section describes what software is needed. You will need the following to access the web configuration interface on the base station:
Windows Internet explorer installed on the PC
Section 1) How to add a Ipitomy SIP server
Add Ipitomy server
This section describes how to add a SIP server to the base station (gateway).
Step 1: Determine the IP address of the base station
- Read the MAC address on the labels on the back side of the base station
- Press “Menu” key on the handset followed by the keys: *47* to get the handset into the base station search mode.
- Use the cursor down/up to select the base station which match the MAC address read under item 1, and use the IP address listed below the MAC address.
- Open a web browser on the computer and type in the IP address of the base
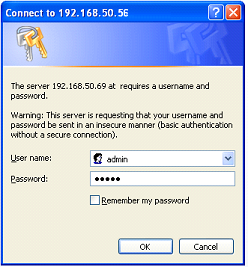
Step 2: Type in the “Username” and “Password” when prompted. The default username and password is “admin”.
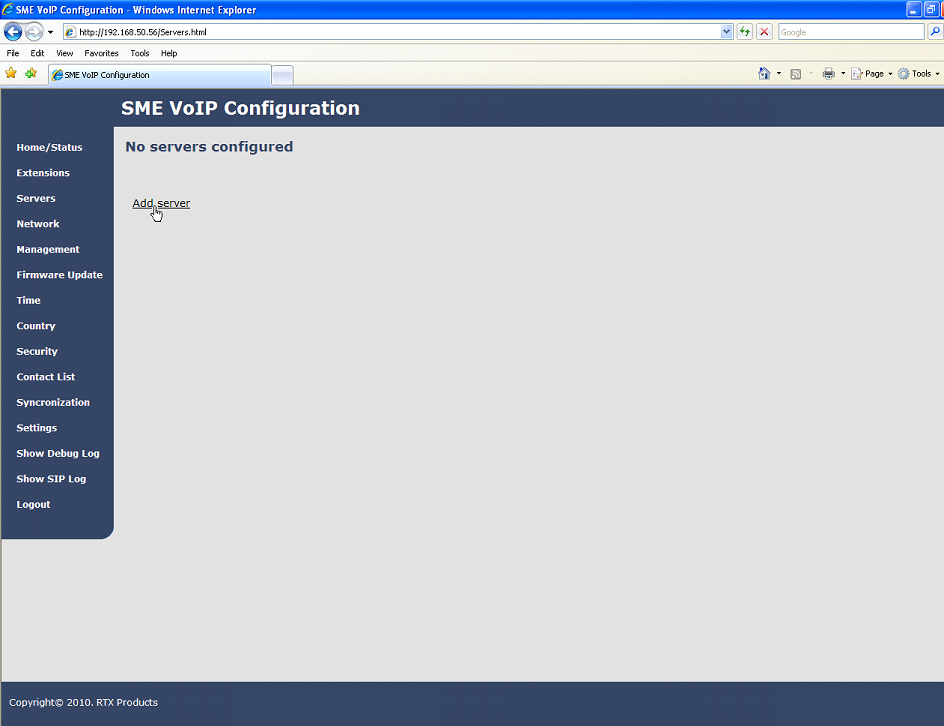
Step 3) A SIP server must be configured on the base before handsets can be registered to the base. To add a SIP server, select sheet “Server” and click the link “Add server”.
Step 4) Fill out the displayed form and click “Save”. In the shown example we configure a Ipitomy SIP server located on the IP address 192.168.50.77 and no Outbound proxy is used. Set “NAT adaption” if the base station is registering to the PBX as a remote phone. It is also possible to type in the URL’s direct, i.e. like “sipphone.com”
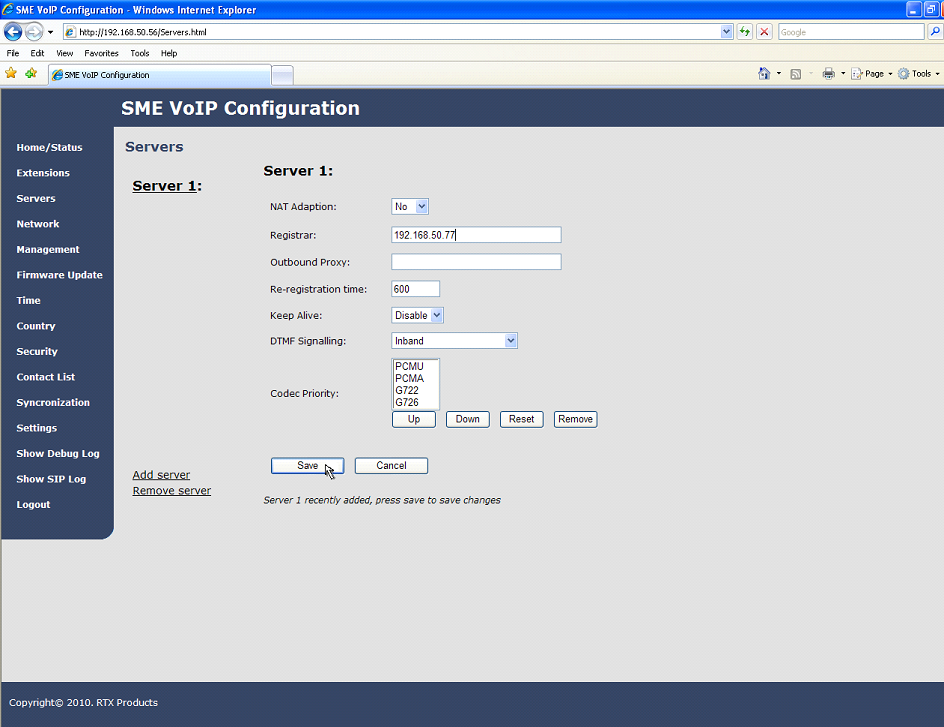
Please notice: The new Ipitomy server is displayed to the left when it is successfully saved.

Section 2) How to register a handset
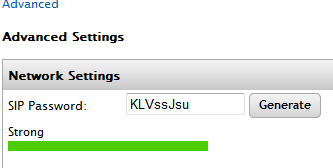
Note: Prior to this step you need to follow the steps above to point the Base Station to the server (PBX)> You will also need to create an Extension in the Ipitomy PBX for each Handset. If this is not done, you will not be able to pair the handsets to the base station. These stations will use Open Licenses. And you should set the Phone Model as "Generic". Make note of the Extension number and the Extension SIP password. The Extension SIP password may be found under Advanced when you edit the Extensions settings
This section describes how to register the wireless handset to the base station.
Please notice: Minimum one SIP server must be registered to the base (system), otherwise a handset cannot be registered to the system. Please see chapter “Add server”.
Step 1: Open a web browser on the computer and type in the IP address of the base. Press “Enter” to access the base.
Step 2: Type in the “Username” and “Password” when prompted. The default username and password is “admin”.
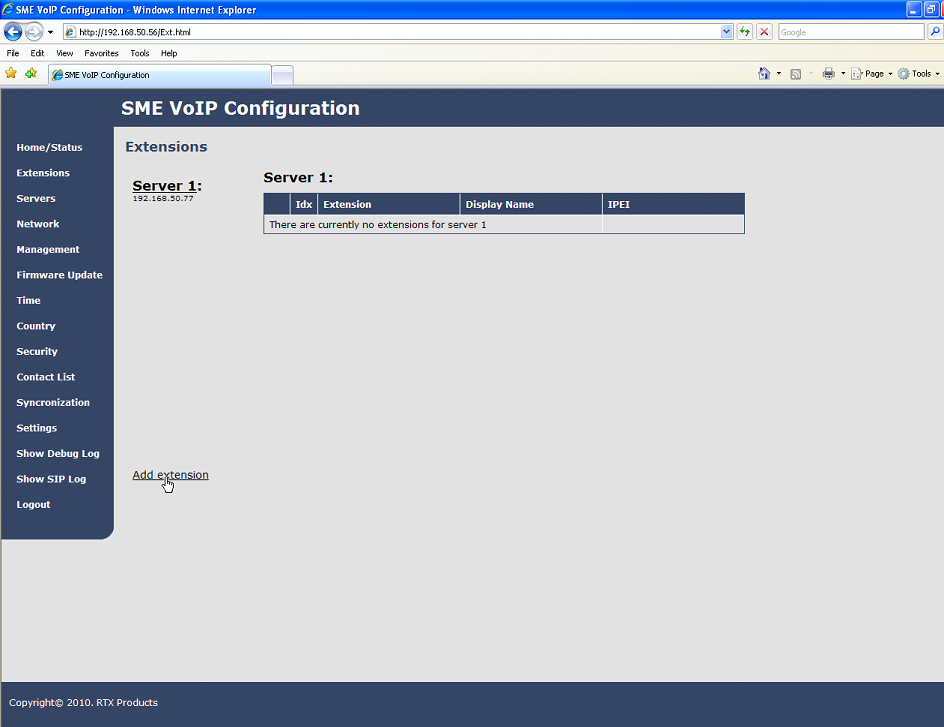
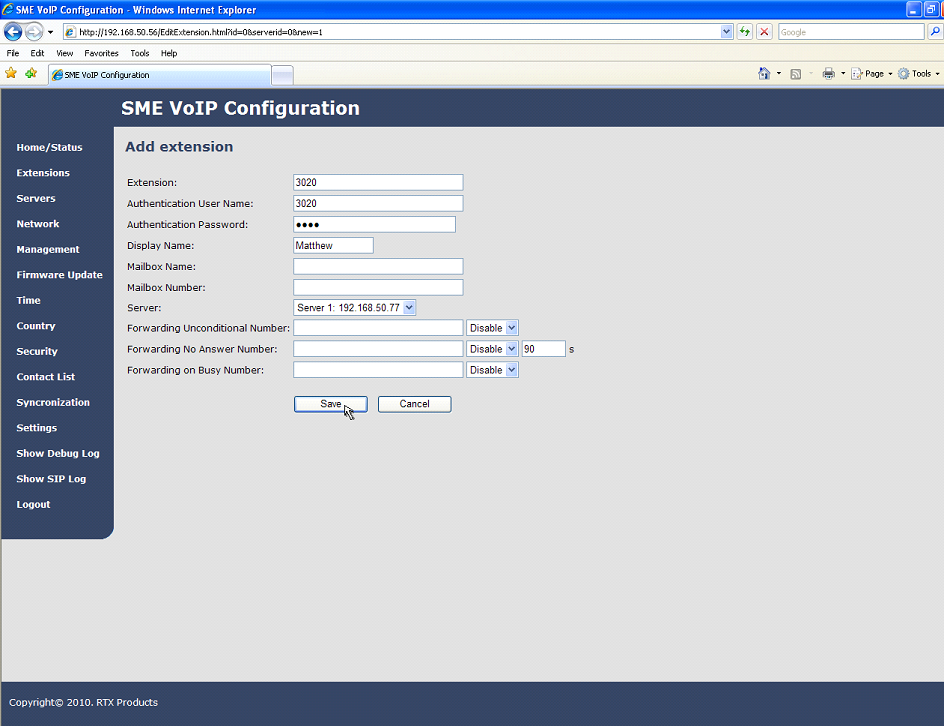
Step 3: Select sheet “Extensions” and click “Add extension”
Step 4: Fill out the form and click “Save”. In the example below we add the extension “3020” and this SIP account got the same number as “Authentication User Name” and “Password”. The “Server 1” is selected as server for this extension.
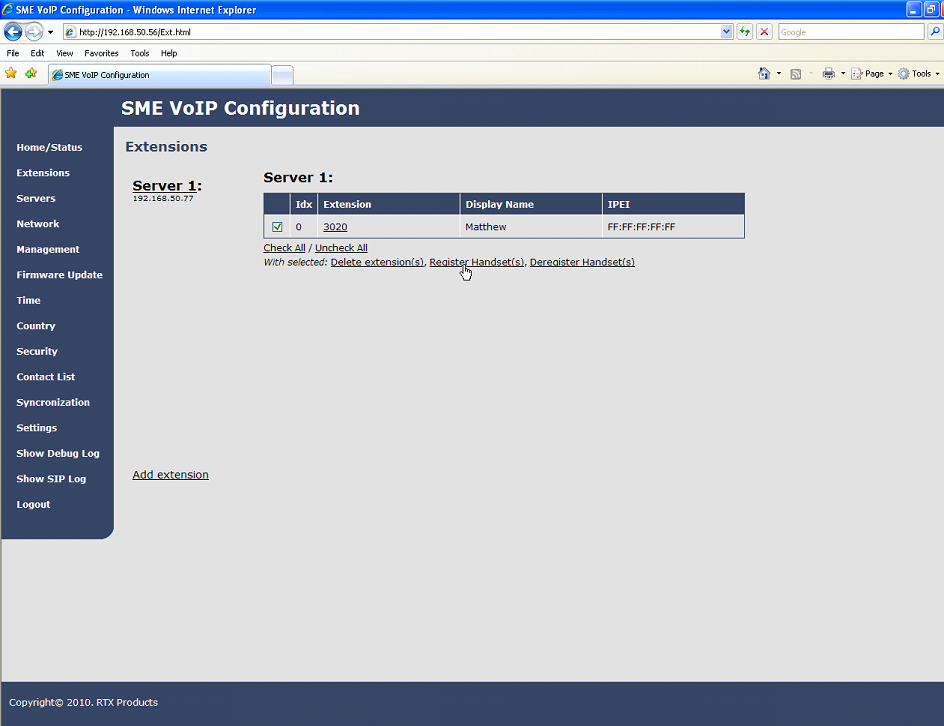
IMPORTANT: Step 5: Set a Check mark on the extension which shall be assigned to the handset you want to register and click “Register handset (s)”. The base is now open for handset registrations for 5 minutes.
Step 6: Start the registration procedure on the handset by following step “a” to “d” below.
a) Select main menu “Connectivity”

b) Select menu ”Register”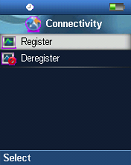
c) Type in the “AC code” and press “OK” to start the registration. The default AC code is “0000”.
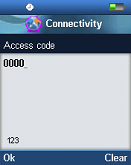
d) After a while the handset is registered, and the idle display is shown.

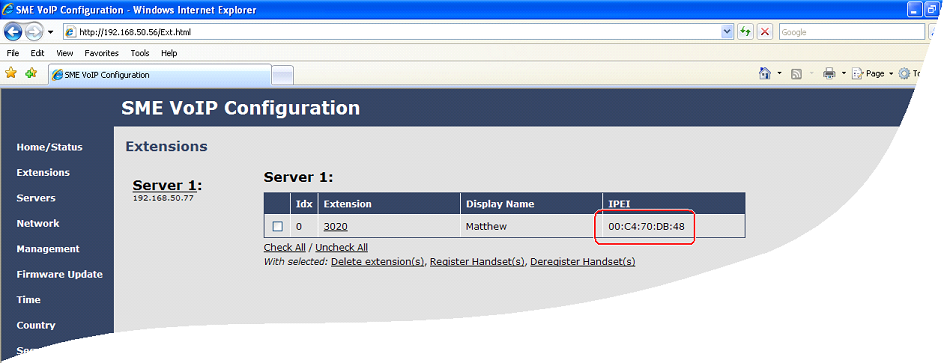
Please notice: The unique handset IPEI is displayed on sheet “Extensions” when the handset is successfully registered. The web page must be manually updated by pressing “F5” to see that the handset is registered; otherwise the handset IPEI (International Portable Equipment Identity) isn’t displayed on the web page.
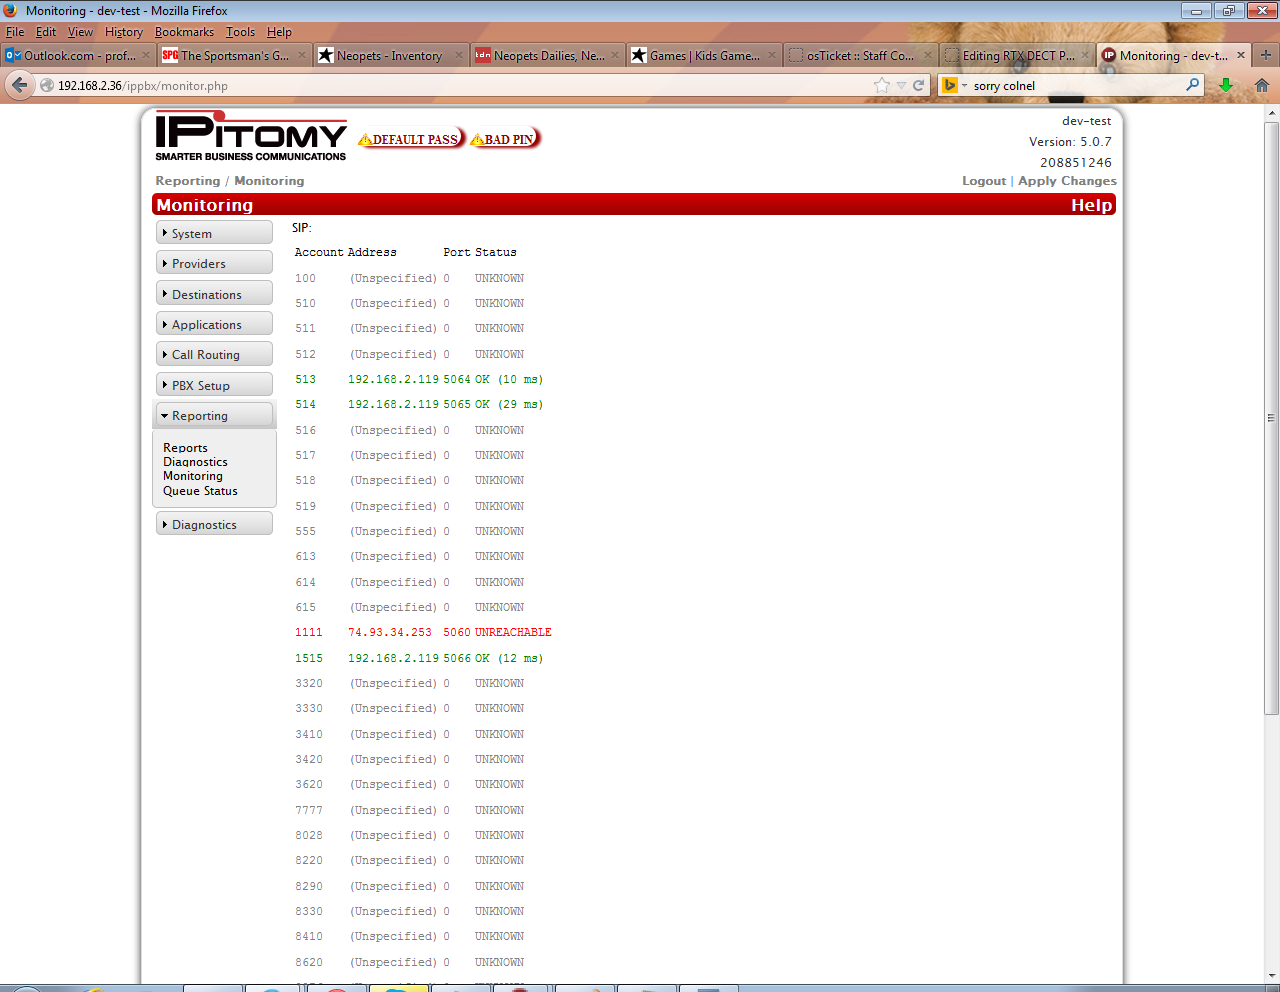
You can also check status of the Handsets from the Monitoring page of the PBX.
