Difference between revisions of "IPitomy Contact Dialer"
| Line 1: | Line 1: | ||
| − | '''Ipitomy Contact | + | '''Ipitomy Contact Dialer''' |
To set up the IPitomy Dialer you must first be on the latest (5.0.7-2 or higher) PBX software.<br/><br/>Dialer requires .NET Framework 4.0 or greater. Windows 7 or newer Microsoft OS. | To set up the IPitomy Dialer you must first be on the latest (5.0.7-2 or higher) PBX software.<br/><br/>Dialer requires .NET Framework 4.0 or greater. Windows 7 or newer Microsoft OS. | ||
Revision as of 14:38, 15 July 2014
Ipitomy Contact Dialer
To set up the IPitomy Dialer you must first be on the latest (5.0.7-2 or higher) PBX software.
Dialer requires .NET Framework 4.0 or greater. Windows 7 or newer Microsoft OS.
The application can be downloaded from:
Click Here to download .application file.
Once you have upgraded you will have under the Applications area of the PBX GUI an API Page.
Use the tool to create a KEY named "Contacts"
Once finished your Key will look like this.
At this point you can use the guide on the following link to configure and use the dialer.
http://wiki.ipitomy.com/wiki/File:IPitomy_Dialer_App.pdf
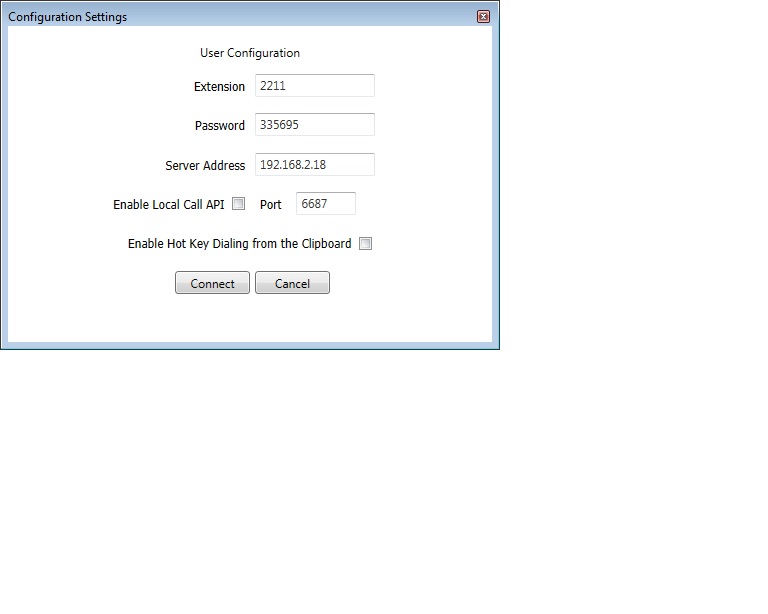
The installation will begin. When finished it will bring you to the configuration page.
Enter the Extension number where indicated. The Password used is the Extension Voicemail Password. And then populate the IP of the PBX in the appropriate field. No changeto the port number is required.
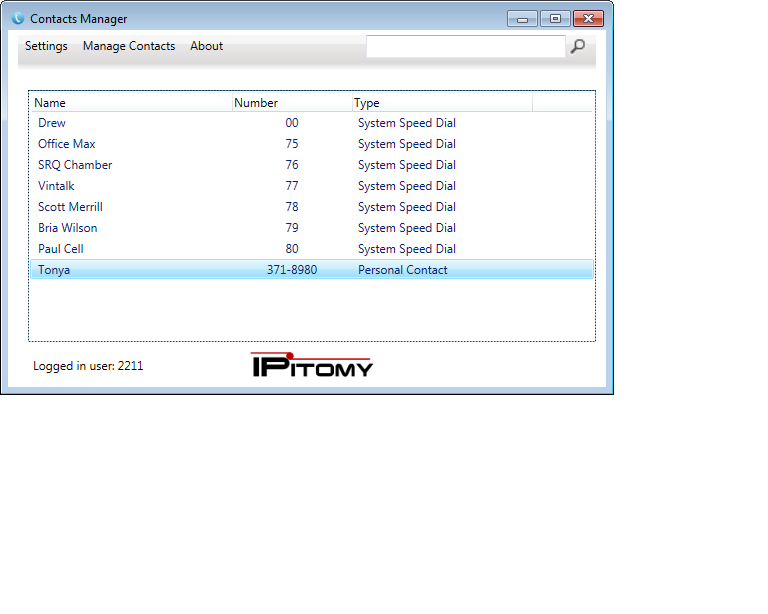
This will bring up the main page.
System Speed dials are present. To dial these simply click on them. The device you configured will ring. And once you pick up the call will be connecting. You can import contacts from a CSV file or from a local Outlook installation. You can also create manually the entries you desire.
Enter the Extension number


