Difference between revisions of "IPitomy Communicator"
John Wolfe (talk | contribs) |
|||
| Line 1: | Line 1: | ||
Note: This Guide will assist the user in Installing and Using the Ipitomy Softphone. | Note: This Guide will assist the user in Installing and Using the Ipitomy Softphone. | ||
| + | ''' This Guide is for the Future release of our Softphone ''' | ||
Revision as of 18:30, 4 December 2014
Note: This Guide will assist the user in Installing and Using the Ipitomy Softphone.
This Guide is for the Future release of our Softphone
Ipitomy Softphone
Installation
To Install the Softphone, Follow the URL below and click the Installer link. Installation will begin at that time. You should have adminstrative rights to the PC you are installing to prior to installation. Accept the default location for install unless you have some other directory you wish to install to.
Setup
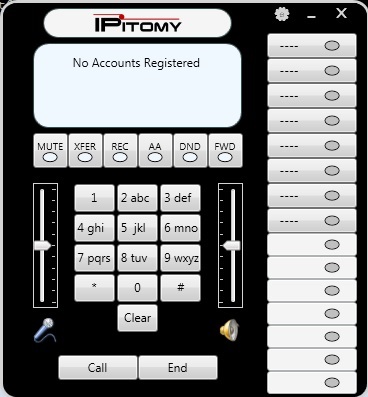
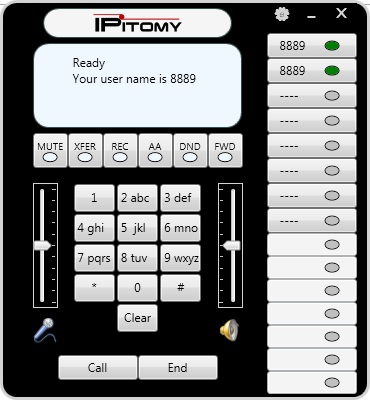
Once isntalled open the program by clicking the program Icon. This should now be located on your Desktop as well as in the Program directory. The Program will open bringing up the user interface screen.
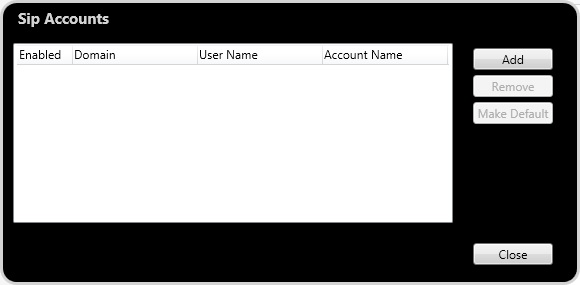
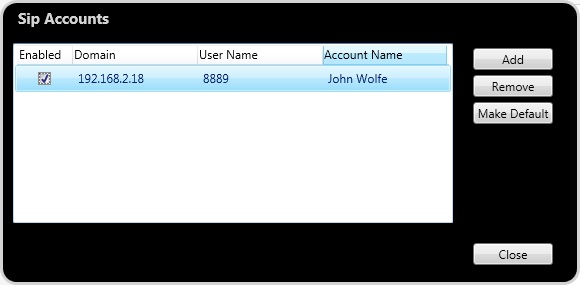
To Add an account Press the Settings Icon which is the little Gear Icon next to the Ipitomy Logo Bar. Select Sip Accounts and Add an Account
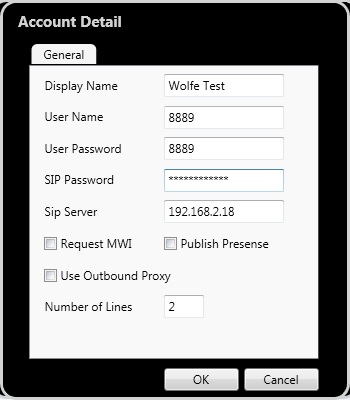
Select the Add Button.
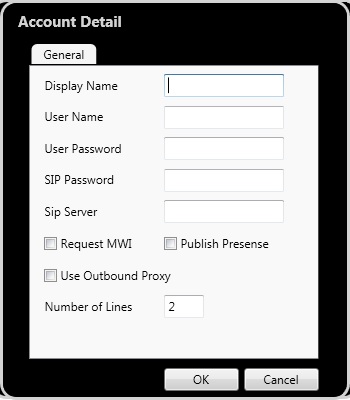
Enter the Following
Display Name = Name of user
User Name = Extension Number
User Password = Voicemail Password
SIP Password = SIP Password for Extension
SIP Server = IP of PBX (Local IP is OK for a Local Extension only, however for a remote phone this would need to the Public IP of the Network the PBX resides upon)
All other information can be left at Default.
Be Sure to Click Enabled when you are returned to the account screen on the account you just created so it is made the live account
Click close and you should be returned to the User interface and your account should register to the PBX.
Your Softphone is now ready to be used.
Import Extensions from the PBX to Contacts.
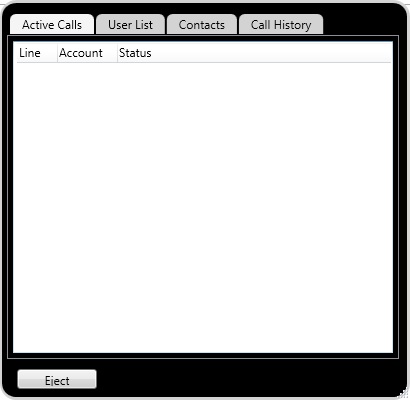
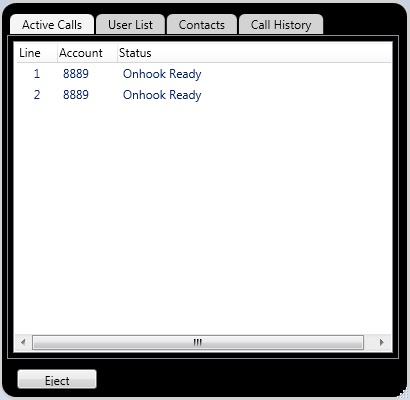
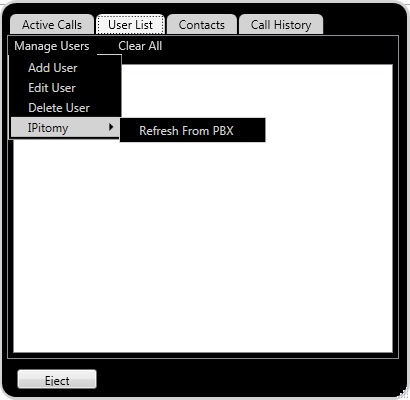
To Import all Extension in the PBX into the Contact list select User List - Manage Users - Ipitomy and then Refresh
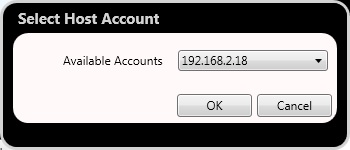
Select the PBX from the Host list
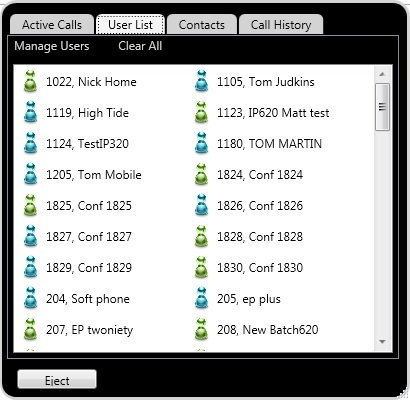
Click OK. The Softphone will now pull down an Extension list from the PBX which you configured.
