IPitomy Fax
IPitomy Fax Services offers a virtual fax solution for your client by Email to Fax, Web to Fax, Print to Fax, or Mobile to Fax.
IPitomy E-Fax
Email to Fax
- NOTE:: No technical fax size limit on our end, but the email provider may have a max attachment size. It is advised to keep faxes under 100 pages
- NOTE:: No technical fax size limit on our end, but the email provider may have a max attachment size. It is advised to keep faxes under 100 pages
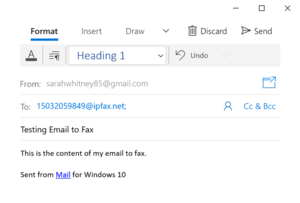
Email to Fax must be sent to: destinationnumber@ipfax.net
2) Users MUST send from the email address they are registered to on the system as the system utilizes the ‘from’ email address as their Username or Login for authorization. Clients MUST be registered in the system with their email address as their Login/Username.
3) The ‘Subject’ line of the email MUST include the word ‘pass’ followed by the User’s password
4) Email to Fax is recommended be sent in Plain Text format
5) Clients may attach up to three attachments for faxing. Almost all attachment formats are supported.
6) Anything in the body of the email will be included in the cover page of the fax. An empty body will result in no cover page being sent and only the attachment(s) being faxed.
7) Clients may include the fax recipient’s name (on cover page) by including it as the first words in the ‘Subject’ field of the email.
8) Clients may include a subject for the fax by including ‘s=subject’ in the ‘Subject’ field of the email for faxing. (the word subject to be replaced by actual subject)
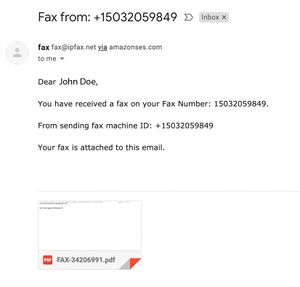
Example of addressing of email for faxing
Web to Fax
- When registering for IPitomy Fax you will receive an email with your login information. Save this email/information.
- NOTE:: Max of 3 file attachments per fax, max 2MB size per file.
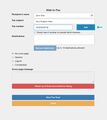
To send a Web to Fax, a User will log into the User Portal http://secure.ipfax.net and do the following:
1) Address who the fax is to be delivered to. (John Smith in Example)
2) Include a Fax Subject if desired. Fax Subject will be included on Cover Page of fax as well in Confirmation Report and Call Record for easy identification by the User
3) In the Fax Number(s) field, type in the fax number(s) the fax is destined for. Include country code (‘1’ for N. America but no prefix for international calls such as 011). Web to Fax can send the same fax to 10 destination numbers at the same time.
4) Upload up to three attachments. Almost all formats are supported.
5) Click Send Fax Now! . User will receive confirmation emails as configured on their account and may check Online Reports for real-time status.
Print to Fax
- NOTE:: No technical limit to fax size, but its advised to keep faxes under 100 pages.
Please Install the following program, for Windows PC's only. MAC please use Web to Fax
IPitomy Print to Fax Installation - Windows 64bit
IPitomy Print to Fax Installation - Windows 32bit
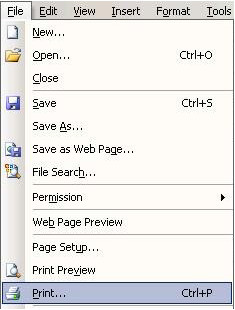
- From the application that you’ve created the document that you want to fax, select File Print.
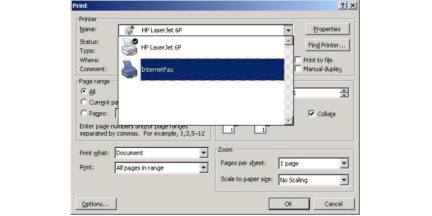
- Select the Internet Fax printer from the list of printers
Select OK to print the document
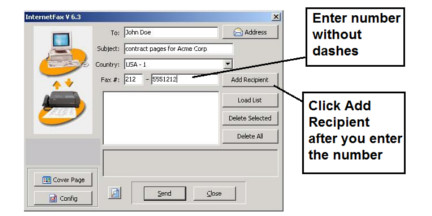
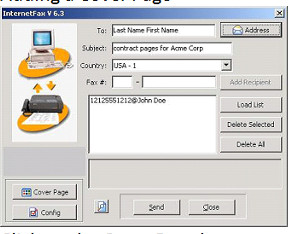
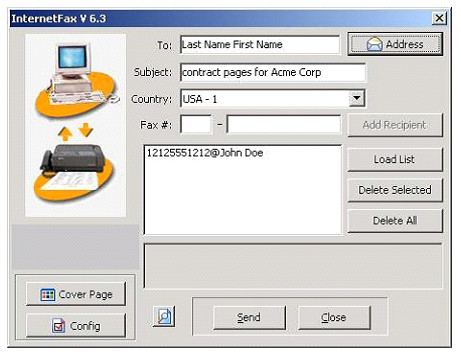
- Enter in the recipient information
- Click Add Recipient
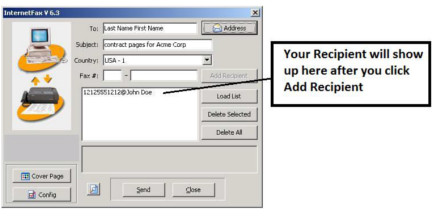
- After you click Add Recipient, your recipient will be added to the list.
- Add another if you want by entering info for another recipient and clicking Add Recipient
- Enter Your Information
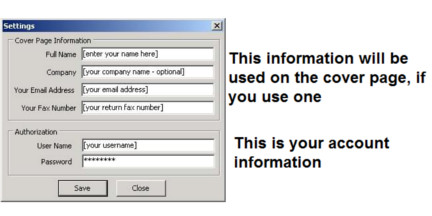
- Enter Config Information. This includes info about you and your account. You only need to do this once.
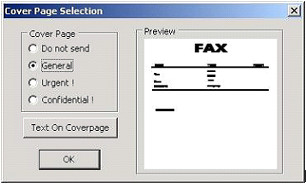
- Add a Cover Page if desired by Clicking on the Cover Page button
- Select Cover Page Type
Click on Text On Coverpage to fill out data for cover page
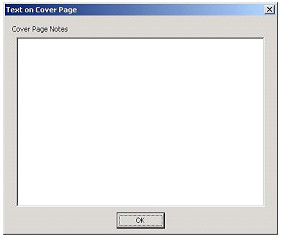
- Enter Cover Page Info
- This information will be put on the cover page
Click the OK button to save
- Click Send to send your Fax
You'll get a confirmation that the fax was sent. You can view the History to see your sent faxes, and you can leave it open if a fax is still in progress to see when it is successfully sent. You can also close this and wait for email confirmation that your fax was sent.
Mobile Fax
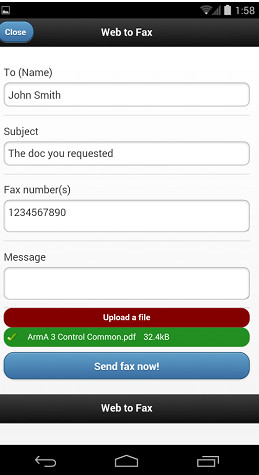
Users can utilize the Pangea Mobile Fax to send faxes or view status of faxes easily from their Internet-enabled phone or other mobile device.
- From their mobile browser, Users will go to https://secure.ipfax.net/m and login with their Username and password.
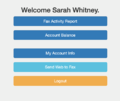
- Here they can check User Report for real time status of any fax sent or received. Check Account Balance or send Web to Fax.
- By clicking Web to Fax, Users can send a fax directly from their mobile device.
- Users should do the following to send a Web to Fax from their phone:
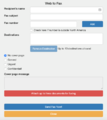
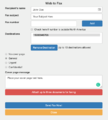
1) Address the fax to the Recipients name in the ‘To’ field
2) Include a Subject if desired. The subject will be included on any cover page as well as email confirmation and Online Reports for easy identification by the User.
3) Include destination fax number including country code (‘1’ for N. America)
4) Include any messaging they would like to appear on cover page of fax sent.
5) Upload a file for faxing. Users may upload up to three files for faxing. Almost all file formats are supported.
6) Click Send Fax Now and the fax will be processed. Users can check Online Reports for fax status or wait for an email confirmation.
IPitomy Fax Jack
A great solution to replace a single fax line. Very easy to set up.

