Polycom General Configuration
Polycom SoundPoint IP SIP Configuration
** These instructions apply to the following units: **
- IP 301 - IP-320/330
- IP-321/331 - IP-335
- IP 430 - IP-450
- IP 501 - IP 550
- IP 560 - IP 601
- IP 650 - IP 670
- IP 4000 - IP-5000
- IP 6000 - IP 7000
-VVX-1500 (SIP)
1. Power on IP Phone.
2. Allow the Polycom Soundpoint IP Phone to boot completely to the main display on LCD.
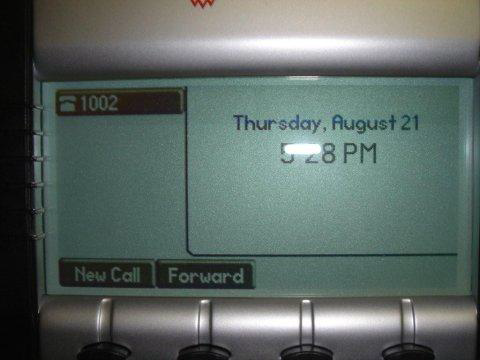
3. Press the Menu button.
4. Using the “down” arrow directional key, scroll to the STATUS option and then press Select.
5. Using the “down” arrow directional key, scroll to the NETWORK option and then press Select.
6. Select TCP/IP Parameters option.
7. Gather the Soundpoint IP Phone’s IP Address. (ex. 192.168.xxx.xxx)
8. Press the Exit option.
9. From a computer on the same network as the Soundpoint IP Phone, open a web browser (Internet Explorer).
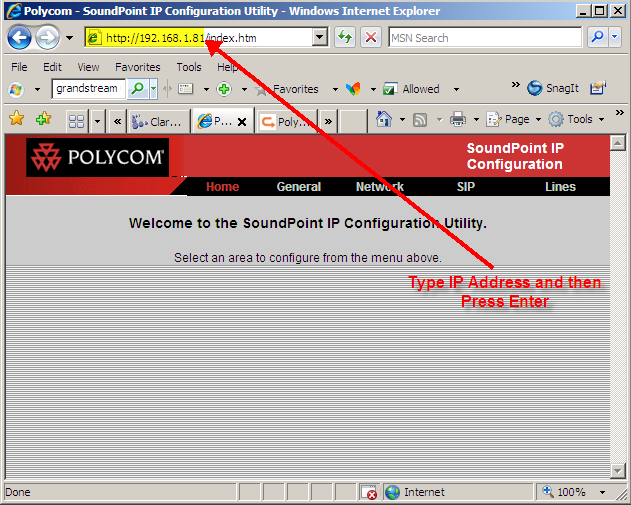
10. Enter the IP Address of the Soundpoint IP Phone in the web browser location bar.
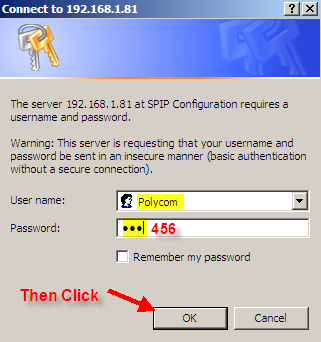
11. You will be prompted for a Username and Password. The default Polycom Username is: Polycom (case-sensitive) and Password is: 456.
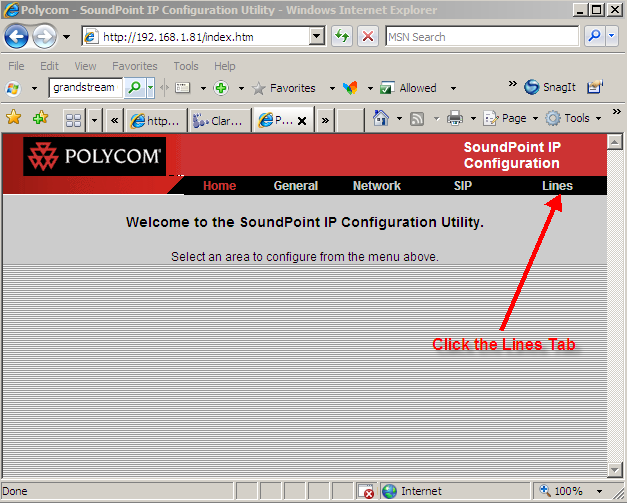
12. On the Web Configuration page, click the Lines Tab.
13. Enter the following information on the Lines Tab:
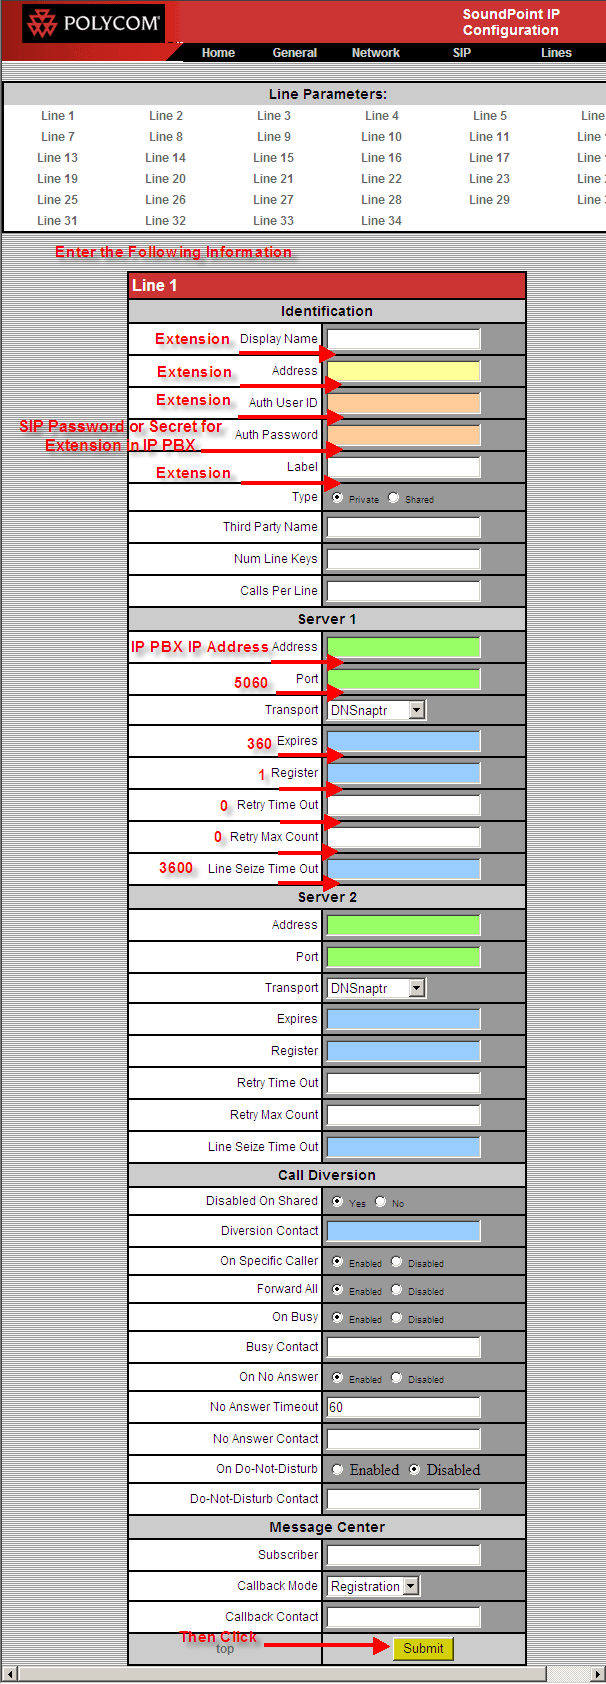
Display Name: Extension #
Address: Extension#
Auth User ID: Extension #
Auth Password: Password given to this extension on your IP PBX
Label: Extension #
Address: IP PBX IP Address
Port: 5060
Expires: 3600
Register: 1 (Equals YES)
Retry Time Out: 0
Retry Max Count: 0
Line Seize Time Out: 3600
14. Click the SUBMIT button.
15. The Polycom Soundpoint IP Phone will reboot. Allow the unit to reboot completely to the main screen on LCD display.
16. Your unit is now configured and is registered to your IP PBX. Make test calls to ensure registration is a success. Also note on the main screen, the phone icon next to the phone label should be completely “solid”.